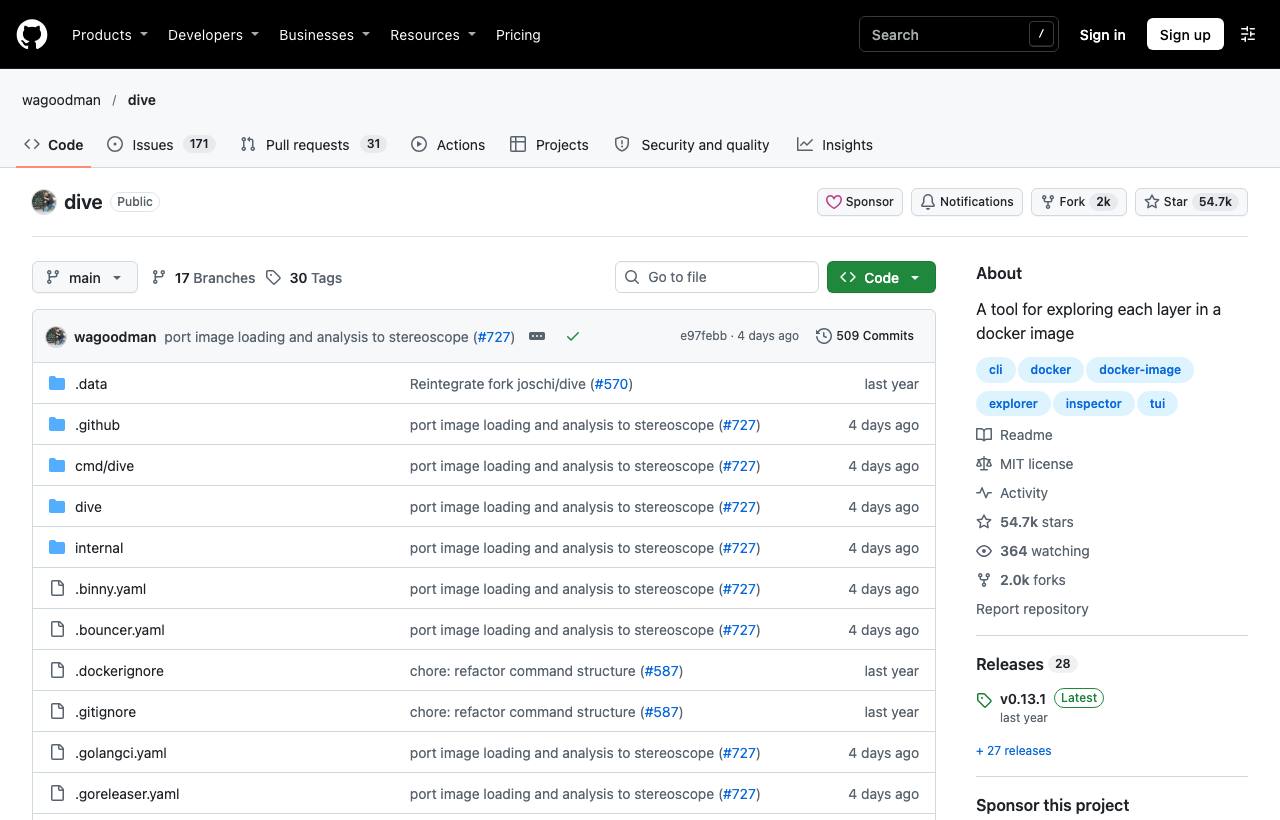
dive: inspect Docker image layers to find out why images are big
TL;DR
dive shows what each image layer adds, modifies or removes, plus an efficiency score and wasted space. Delete files in the same RUN that created them, use .dockerignore and multi-stage builds, and set CI=true in pipelines.
Your Docker image weighs 1.2 GB while the application is a few dozen MB. What's the culprit: the package manager cache, intermediate build files, or a large file copied in and deleted in a later layer (which still takes space)? docker history only gives each layer's size, not what's inside. dive lets you "dive" into each layer: browse its file tree, see which files were added, modified or removed, and get an efficiency score and wasted-space figure for the whole image.
Installation
brew install dive
# Or run via Docker (mounting the socket)
docker run --rm -it -v /var/run/docker.sock:/var/run/docker.sock wagoodman/dive myapp:latest
Linux .deb/.rpm packages are on the Releases page.
Usage
dive myapp:latest              # analyse an existing image
dive build -t myapp:latest .   # build and analyse right away, instead of docker build
The screen has two halves: on the left, the list of layers with the Dockerfile command that created each and its size, with totals below: the efficiency score and wasted space. On the right, the file tree of the selected layer, colour-coded for added, modified and removed files.
Key bindings
| Key | Effect |
|---|---|
Tab | Switch between the layer and file tree views |
Ctrl+A / Ctrl+L | In the layer view: aggregated changes / current layer's changes only |
Space, Ctrl+Space | Collapse/expand one directory, or all |
Ctrl+A, Ctrl+R, Ctrl+M, Ctrl+U | In the file tree: show/hide added, removed, modified, unmodified files |
Ctrl+F | Filter files by name |
Ctrl+B | Show file attributes |
Q / Ctrl+C | Quit |
Tip: in the file tree, hide unmodified files (Ctrl+U) to see only what a layer really adds.
Common mistakes dive reveals
- Deleting in a different layer:
RUN apt-get install ...followed byRUN rm -rf /var/lib/apt/lists/*in a separate command: the files remain in the earlier layer. Combine them into oneRUN. - Copying too much:
COPY . .brings along.git,node_modulesand test files. Add a.dockerignore. - Build tools in the final image: use multi-stage builds and copy only the artifacts into the last stage.
- Package manager caches: pip and npm caches stay in the image; use
--no-cache-diror clean up in the same command.
Using it in CI
Set CI=true so dive runs without the UI and returns pass/fail based on rules in a .dive-ci file:
# .dive-ci
rules:
  lowestEfficiency: 0.95
  highestWastedBytes: 20MB
  highestUserWastedPercent: 0.20
CI=true dive myapp:latestCaveats
- A high efficiency score doesn't mean a small image; a heavy base image can still score 99%. Pair it with choosing a lean base image.
- Running dive via Docker requires mounting
docker.sock, giving that container full control of Docker on the host.
How to apply it
- Dev: When writing a new Dockerfile, use
dive buildinstead ofdocker builda few times to see immediately which layer is bloated. - Tech Lead/DevOps: Add a
CI=true divestep with sensible thresholds to block wasteful images before they reach the registry. - PM: Smaller images mean faster deploys, less bandwidth and registry storage, and fewer components that can carry vulnerabilities.
Sources & references
- wagoodman/dive — wagoodman (GitHub)